
After downloading the software (if you have not done so yet, follow the procedure described here), start the installation by double-clicking the DTCRemover_Setup.exe file.
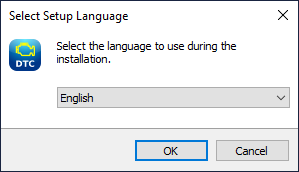
When the installer opens, a window appears to select the language. Choose English and click OK.
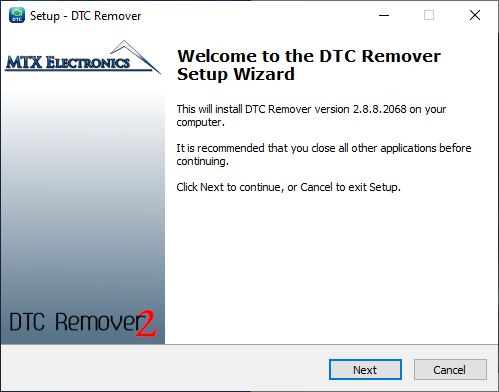
The next screen is an introduction and shows the software version to be installed. Press Next to continue.
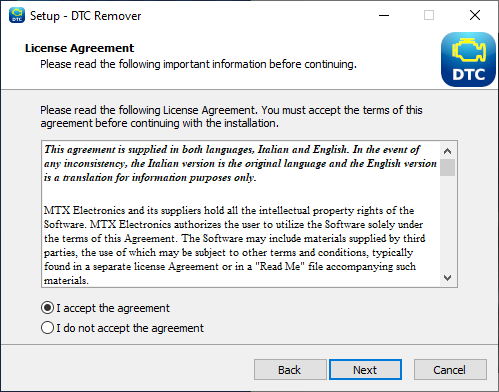
This step presents the licence agreement for using the software. Pay special attention to sections 2.2 and 2.3, which explicitly prohibit sharing the software via servers or using it in virtualized environments — failure to comply will result in the program being blocked. After reading the agreement, select I accept the agreement and click Next to proceed.
You can also view the licence agreement in English by clicking this link; a copy is saved in the installation folder, accessible from the Windows Start menu.
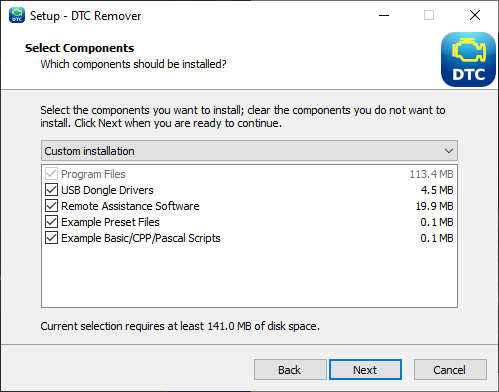
Next you will see the list of components included in the installation. During the first installation all components are selected; on later updates some may not be selected if already present on the system. It is recommended not to change the default selections. Click Next to continue.
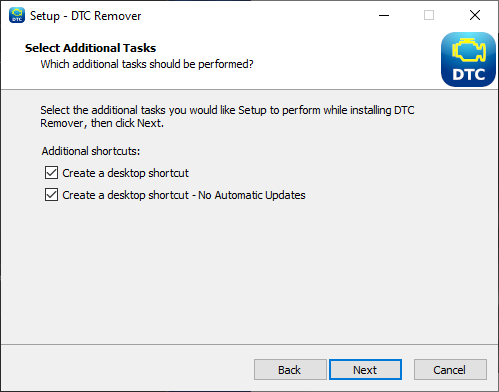
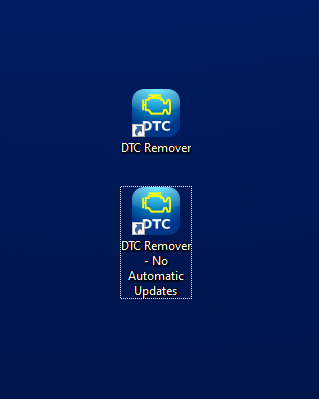
This screen lets you choose whether to create a desktop shortcut. The available options are:
The first option creates an icon that automatically checks for updates at startup; the second launches the software directly without any checks. Again, it is recommended to keep the default settings. Click Next to proceed.
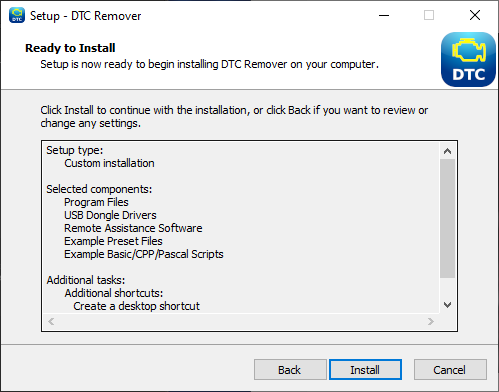
A summary of the selected options appears. Click Install to start the installation.
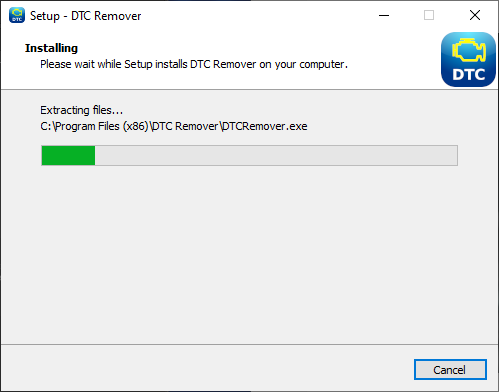
A progress bar is displayed while the files are copied. Please wait until the operation completes without intervening.
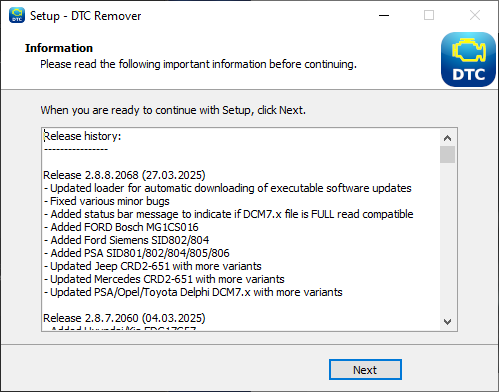
Once the installation is complete, the release notes are displayed. After reviewing them, click Next.
Warning — The following steps are required only for the first installation, to install the USB drivers needed to communicate with the protection dongle. They will not be required for future updates. Disconnect the USB key from the computer before proceeding.
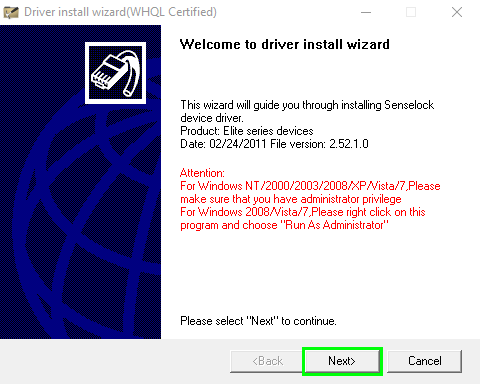
The driver installation starts with a welcome screen. Click Next to continue.
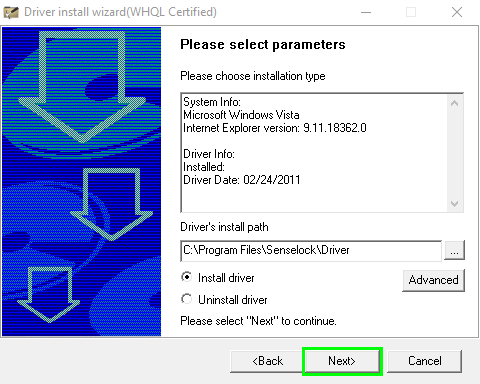
On the next screen, click Next again.
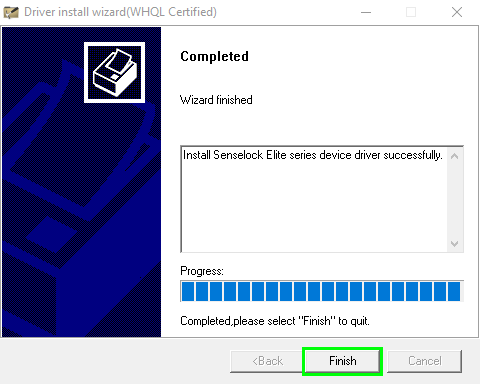
Once the files are copied, the final screen appears. Click Finish to complete the driver installation.
The installation of DTC Remover is now complete. It is recommended to restart your computer. After restarting, connect the USB dongle; once it is recognized by the operating system you can start the software by double-clicking the DTC Remover icon on the desktop.
Tip — Connect the dongle only after the restart and wait for Windows to recognise it before launching DTC Remover. If it is not recognised, try a different USB port.
Enjoy using the software!
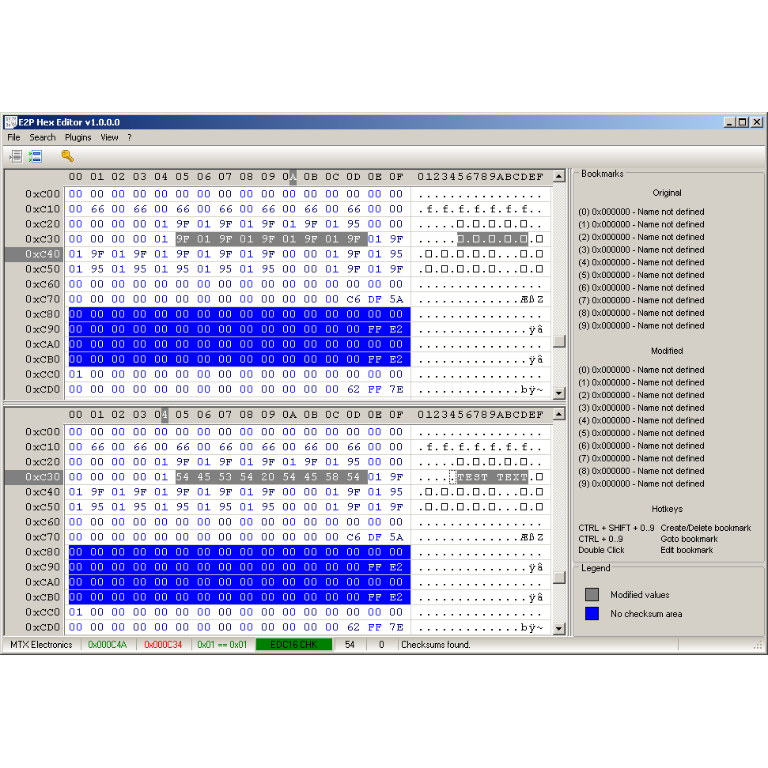
A hex editor built specifically for editing EEPROM data in automotive ECUs. With real-time checksum correction, side-by-side file comparison, and plugin support for automated tasks it's the ultimate tool for professionals.
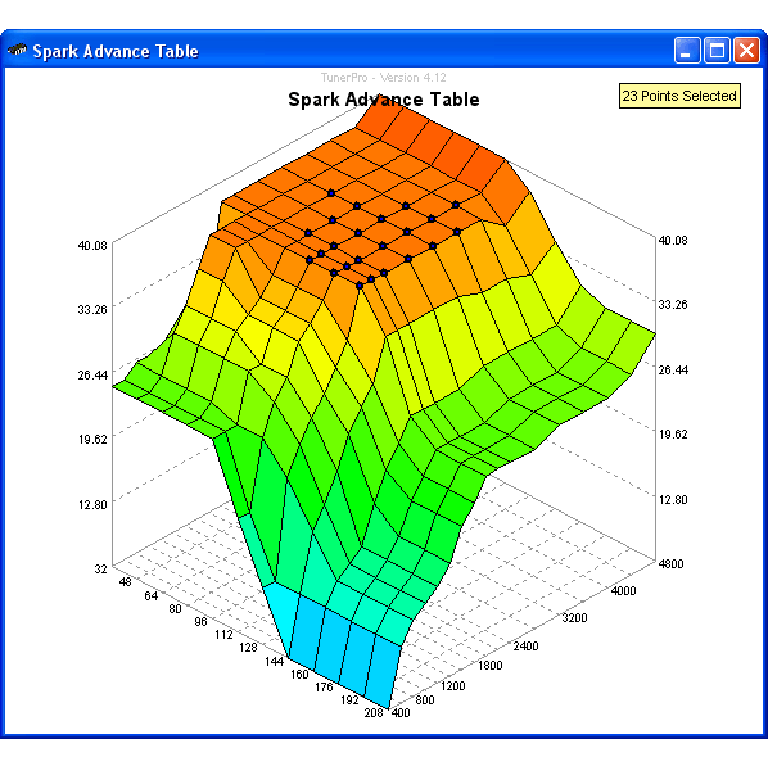
A free collection of checksum correction plugins for TunerPro that ensures safe ECU tuning. Automatically verify and update file checksums for reliable vehicle performance.
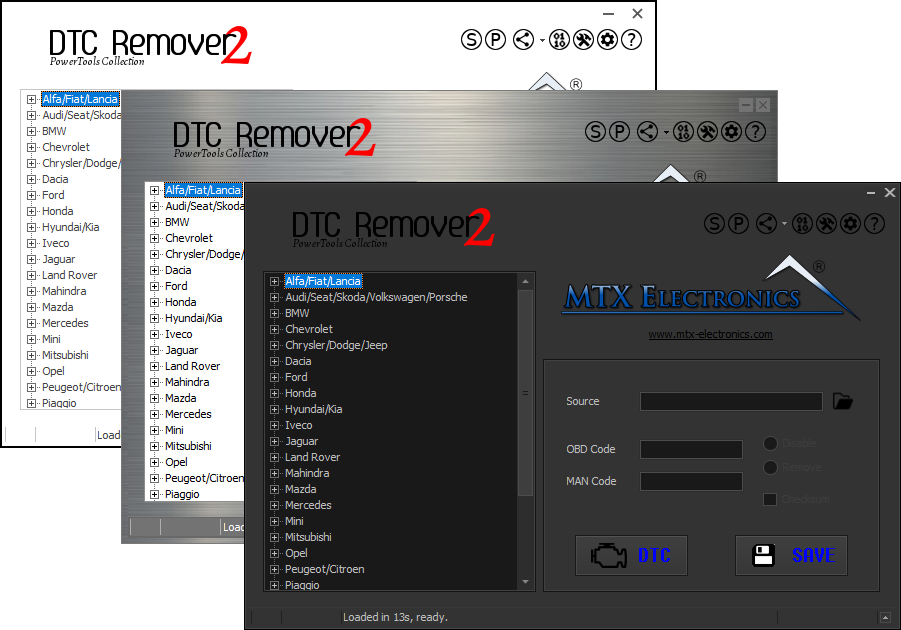
Lets you quickly disable fault codes to turn off the MIL light directly from your ECU file. Available in Standard and PowerTools editions with advanced scripting and online presets to remove faults by component groups.