
The Scan function reads the file currently open in Source and lists all the fault codes it already contains, so you can see and pick what to act on without typing codes by hand.
Scan is not available for every ECU. When the loaded ECU supports it, a magnifying-glass icon appears next to the fault-code entry field (Figure 1).

When you click Scan, the program analyses the loaded file, searches it for every fault present and shows them in a table (Figure 2). Each code has a checkbox:
Untick the codes you want to eliminate, then press “Clear (Unflagged)” to remove several codes in one operation.

Note — Re-activating faults is not supported: Scan only clears (disables) codes, it cannot turn a fault back on.
You can move the table anywhere on screen; click the highlighted icon (Figure 3) to memorise that position so the table always opens in the same place.

The other icon (Figure 4) clears the memorised position and returns the table to its default location (as on first launch).

The Export button (Figure 5) saves the table of fault codes you are currently viewing.

Export opens a dialog (Figure 6) where you choose the destination folder, type a file name and click SAVE to store the list as a text file. Exported scans can be opened and compared later in Tools.

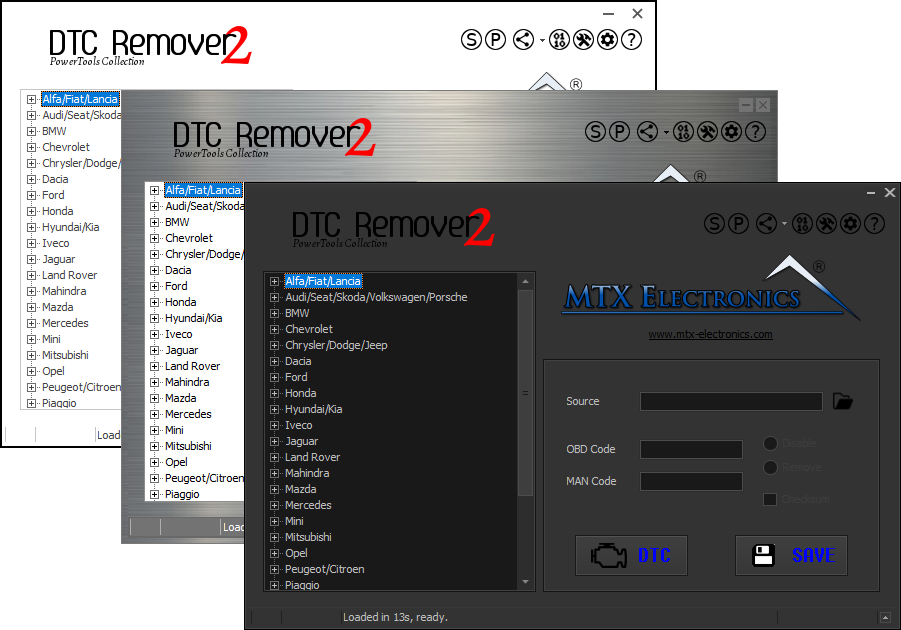
Lets you quickly disable fault codes to turn off the MIL light directly from your ECU file. Available in Standard and PowerTools editions with advanced scripting and online presets to remove faults by component groups.
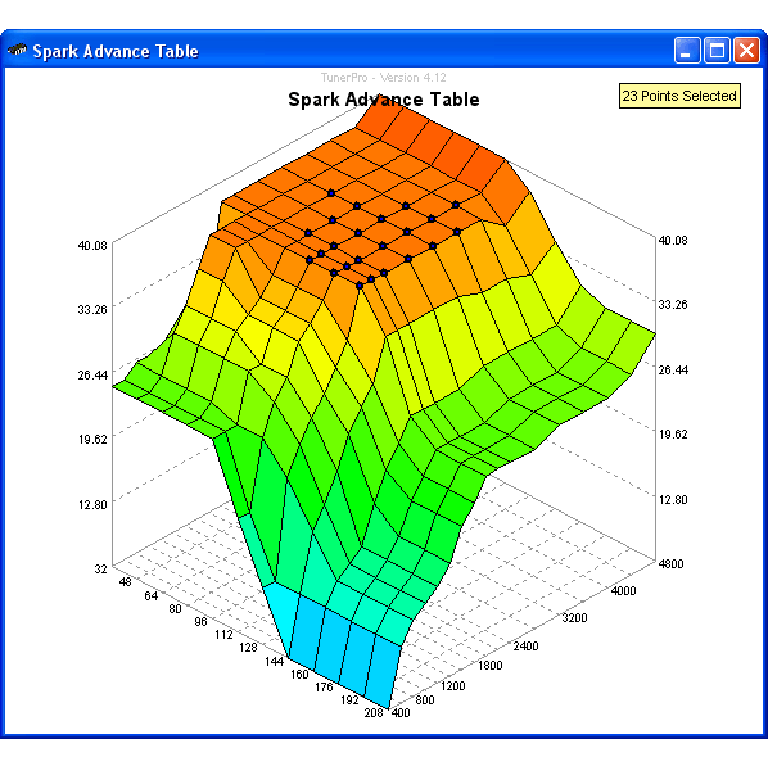
A free collection of checksum correction plugins for TunerPro that ensures safe ECU tuning. Automatically verify and update file checksums for reliable vehicle performance.
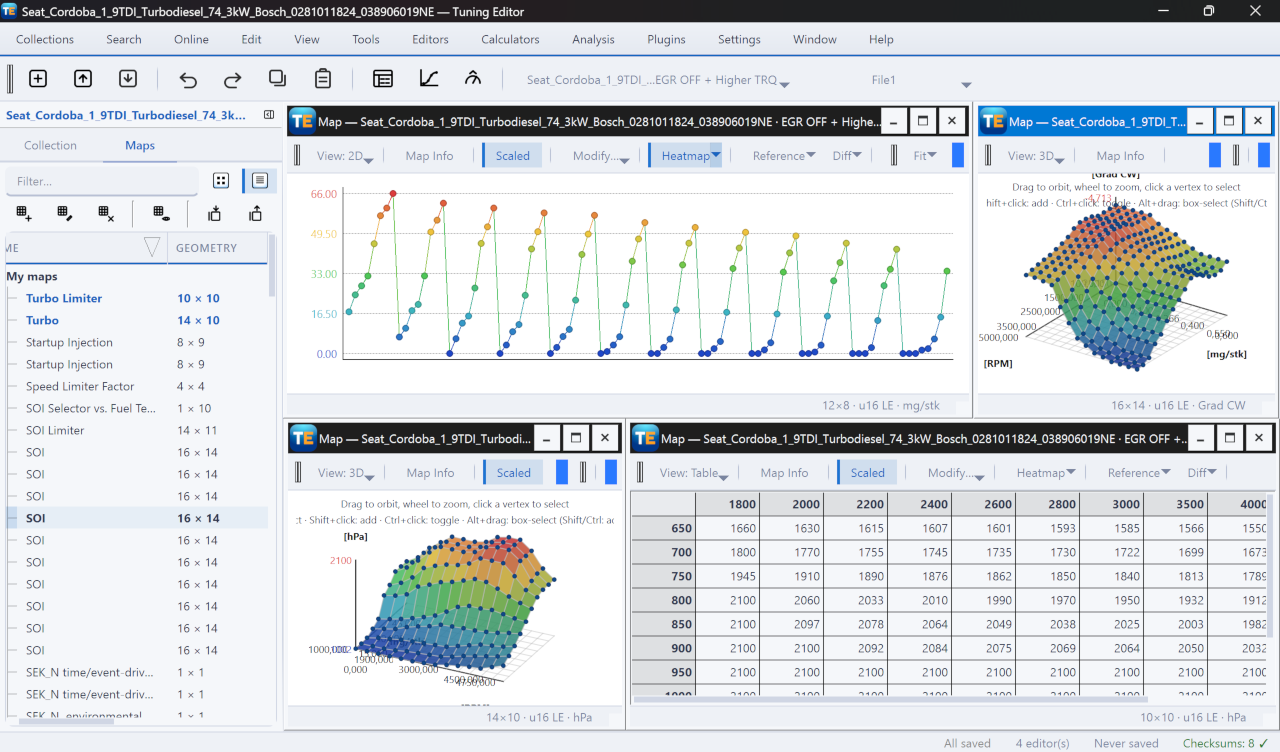
A free, modern Windows software for viewing and editing ECU calibration data - map and hex editors, tuning calculators, and online services.