
This walkthrough takes you through the whole process once, from start to finish, so the individual pages make sense in context. Each step links to its detailed page. If a term is unfamiliar, the basics & glossary page explains it.
Note — this assumes you already have a file read from the ECU with your own tool. Tuning Editor edits the file; it does not read from or write to the vehicle itself.
Install the application (see download and installation) and launch it. You will see the main workspace, described in the interface.
Create a new collection (your project) and import your ECU file into it. Tuning Editor accepts Intel HEX, S-record and raw BIN; the details are in importing a binary. If you have a definition file for this ECU, importing an A2L now will label the maps for you.
Before changing anything, duplicate the imported file into a new version and edit that. This keeps the original read untouched as your reference.
Tip — name versions clearly (“stock”, “stage 1”) so you can always tell them apart and compare. See collections and versions.
Pick a map from the list and open it in the map editor. Start with something easy to understand for a first edit rather than a critical table.
Look at the axes and the values. Tuning Editor shows the physical values, and you can view the same map as a table, a 2D plot and a 3D surface. Understanding the shape first means your change will be deliberate, not a guess.
Change a few cells by a modest amount. You can type a value, nudge a selection up or down, or smooth between cells. Every change is undoable, so experiment freely.
Tip — small, incremental changes are easier to evaluate and safer than large ones. You can always make another version for a bigger step.
Editing changed the bytes, so the stored checksum no longer matches. It must be recalculated or the ECU may reject the file.
Warning — do not skip this. Tuning Editor can automatically correct the checksum during export, provided that the appropriate checksum plugin is installed and enabled. If you do not have a checksum plugin, make sure your flashing tool recalculates and corrects the checksum during programming. Failing to do so may result in an unusable (bricked) ECU. See checksums.
Export your edited version back to a binary file in the format your writing tool expects, with checksum correction enabled. The steps and options are in exporting a binary. That file is what you write back to the ECU with your own tool.
Once you are comfortable with the loop, explore the rest: compare your file against others with find similar files, review a data log with the log analyzer, or work out targets with the engineering calculators.
Go Back to the Sections
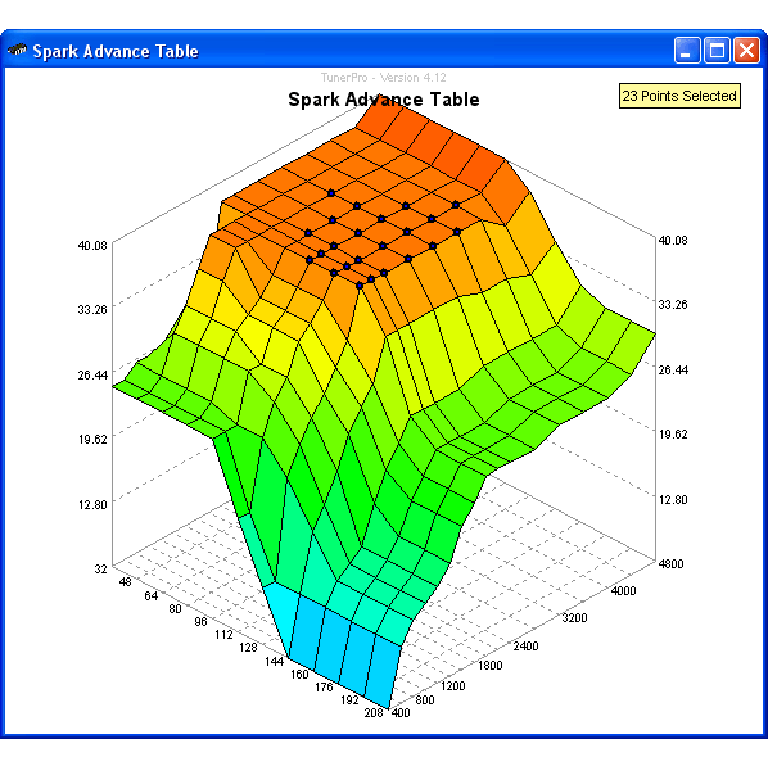
A free collection of checksum correction plugins for TunerPro that ensures safe ECU tuning. Automatically verify and update file checksums for reliable vehicle performance.
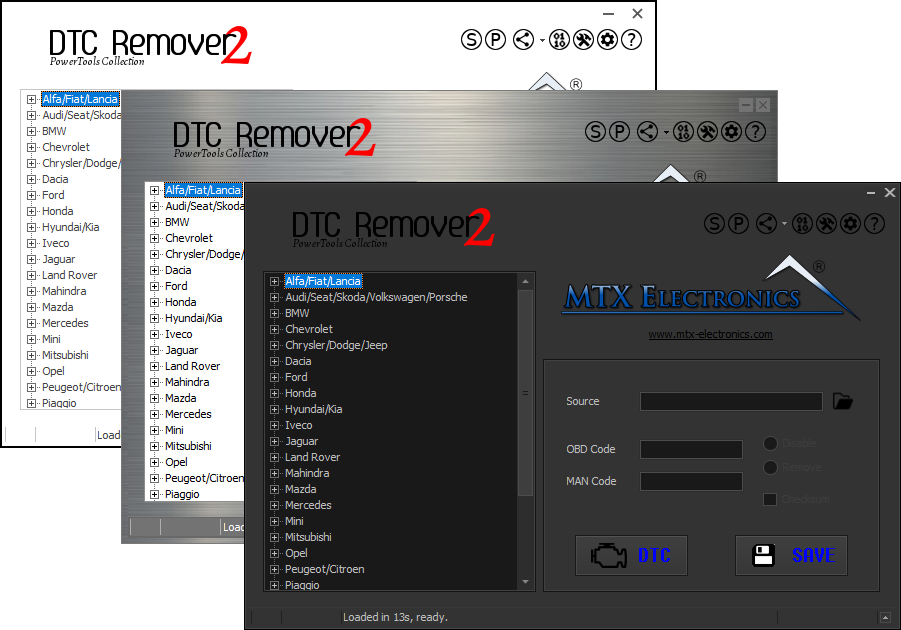
Lets you quickly disable fault codes to turn off the MIL light directly from your ECU file. Available in Standard and PowerTools editions with advanced scripting and online presets to remove faults by component groups.
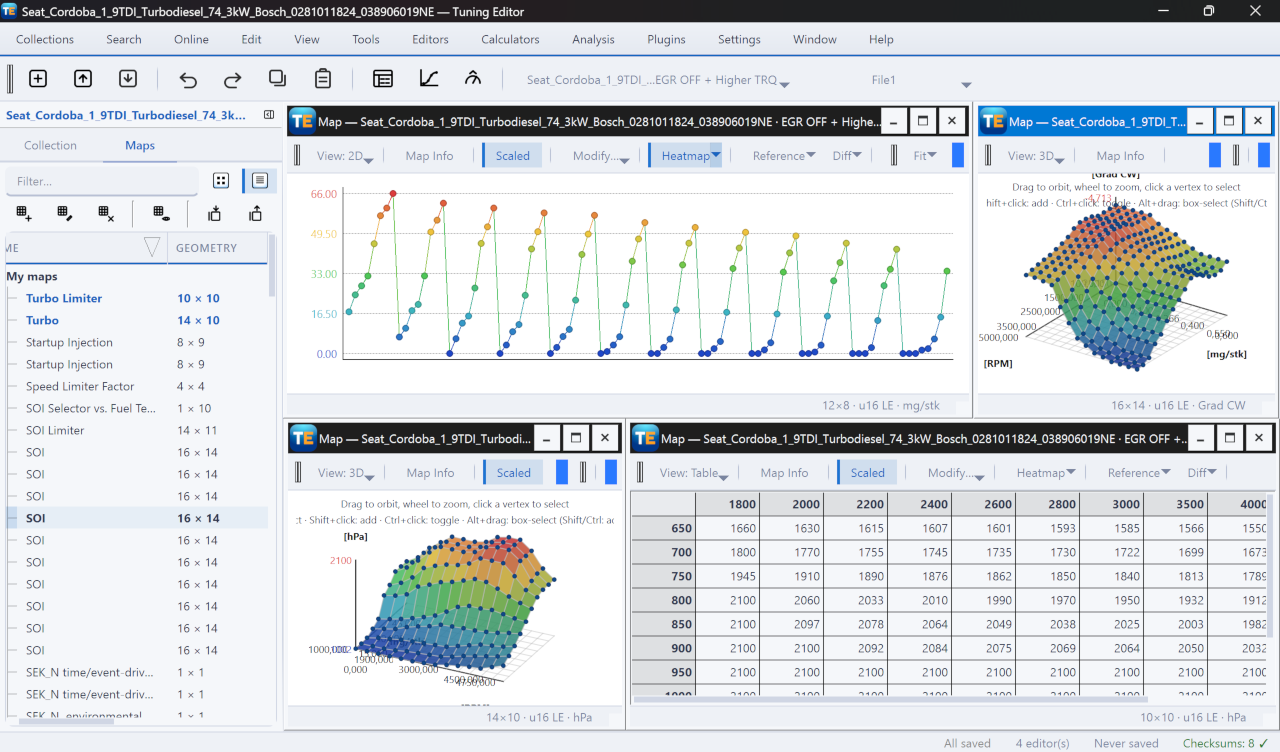
A free, modern Windows software for viewing and editing ECU calibration data - map and hex editors, tuning calculators, and online services.